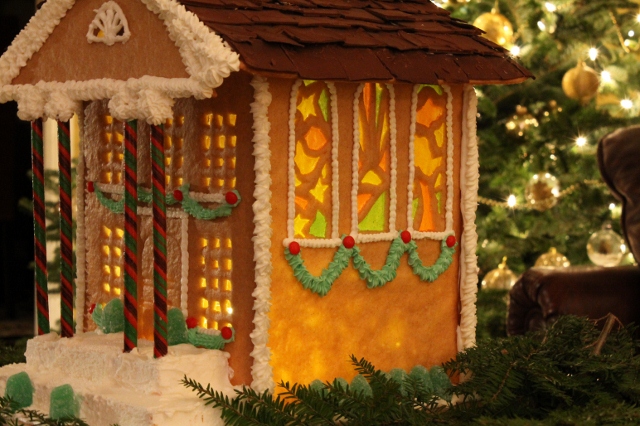
Gingerbread Church
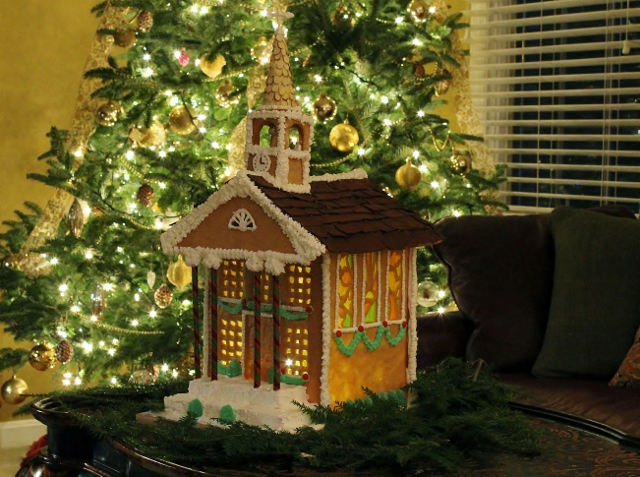 About twenty years ago, when my kids were little, I decided to try to make a gingerbread house. I loved to bake and I was pretty crafty so I figured it was worth a shot. I found instructions for a simple gingerbread house in a Martha Stewart Living Holidays book and the rest is history. I loved every step of the process and for years to come, I made a gingerbread house every Christmas. Then life got hectic, the kids got older (I know, shouldn't it be the other way around?) and I sort of fell off the gingerbread wagon. Well, this year I decided to jump back on so I got out my books, pulled the patterns out of the recipe cabinet and went to work. What I realized was, it's not hard to make a gingerbread house but it is time consuming. I forgot that part. I also realized I'm a little rusty. I made a few mistakes (I won't point them out) but I am in love with my gingerbread church and it feels like the good old days when there was one in the house every Christmas.
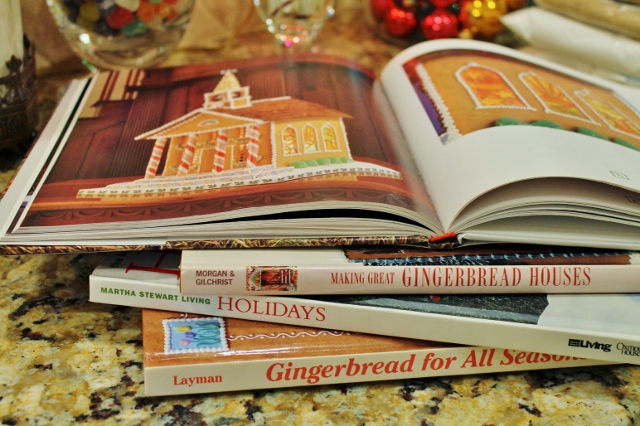 There are a lot of great resources to get you started. I am partial to books, probably because I like to collect them, but there are plenty of resources online.
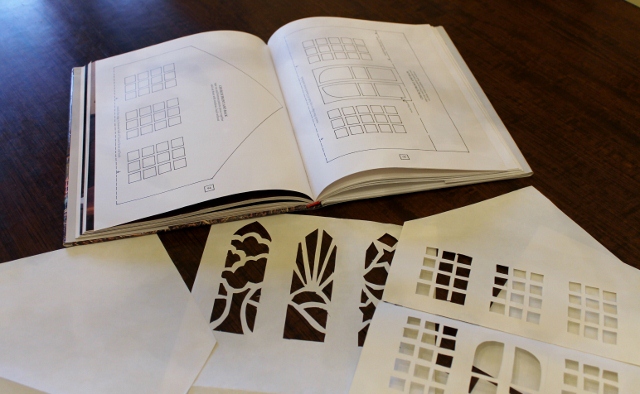 Decide what you want to make and cut out the pattern ahead of time. As you might imagine, this part is time consuming. Once you are done making your gingerbread house, save the pattern. If you ever want to make it again, you will be glad you have it.
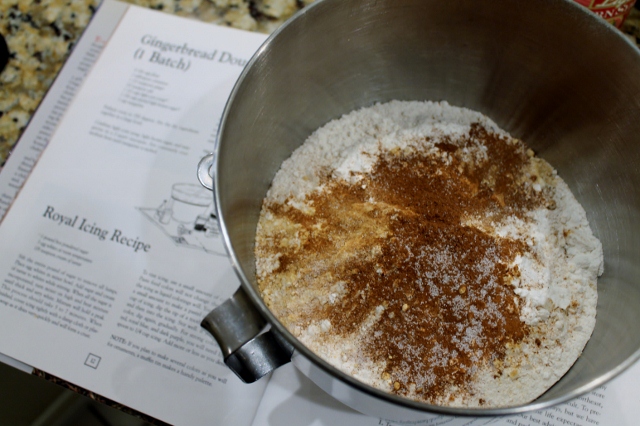 When you are ready to get started, make your dough. I have a great Gingerbread Dough Recipe below.
 Roll your dough and cut out your pattern.
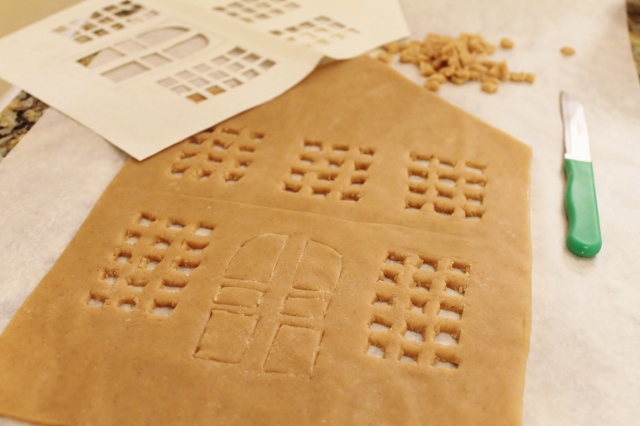 It's not easy to move a piece of dough this big once you roll it out and cut it so I cut my gingerbread right on the parchment paper it will bake on. I slide a flat edge baking sheet under the paper when I'm done cutting and put it in the oven.
 Once the gingerbread is baked, I slide the entire sheet of parchment paper right onto a rack to cool.
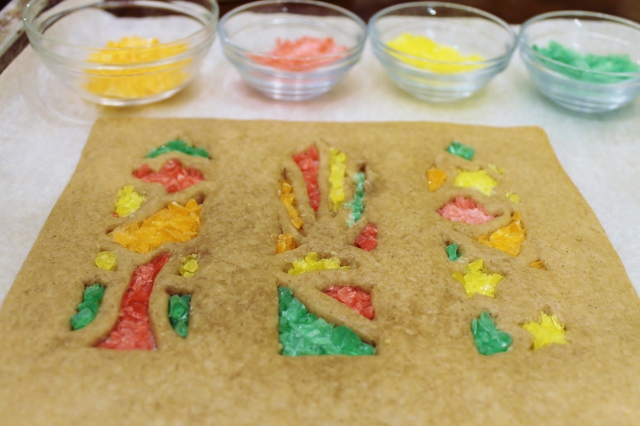 To make stained glass windows, I baked the gingerbread 2/3 of the way and then took it out of the oven to fill the windows with crushed sour balls in different colors. I put the pan back in the oven to finish baking and to melt the candy.
 Once all of the pieces were baked, I spread them out on a table. It's easier to put your structure together if you are organized.
 Royal Icing is used to "glue" the pieces together. My favorite Royal Icing Recipe is below. I used a wooden board covered in brown paper as a base for the church.
 I piped icing through a decorating bag with a round tip attached to construct the walls. It makes it easier to place the icing where you want it to go.
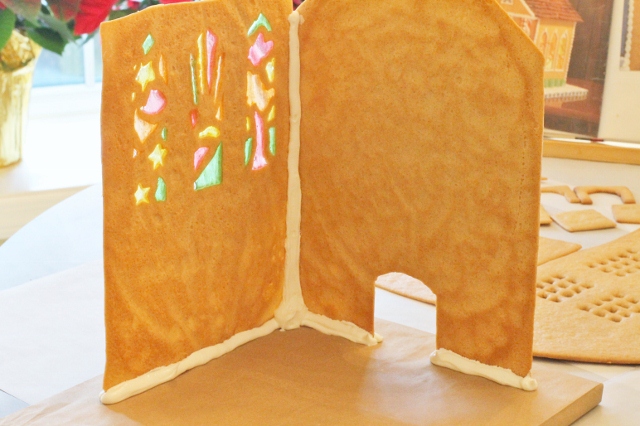 Start by securing one wall and carefully build from there. Royal Icing is thick and drys fast so the walls tend to stand on their own pretty easily.
 Pipe thick lines of icing on the inside of the house.
 I switched to a star tip to go over the icing on the outside edges. It looks prettier than a straight line.
 Once the walls were standing and dry, I decorated the outside with the Royal Icing.
 I did this before I put the roof on.
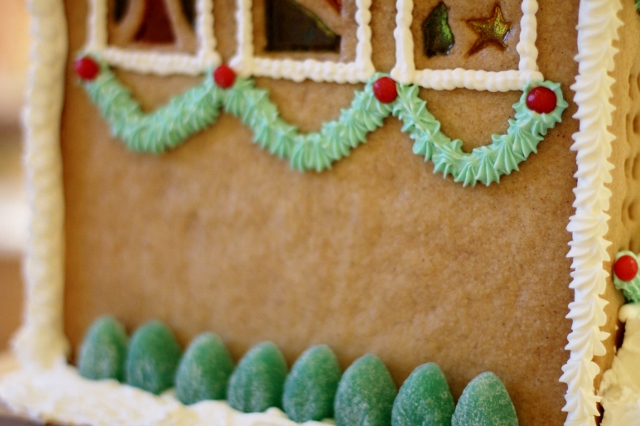 I added some holiday decorations with colored icing and candy.
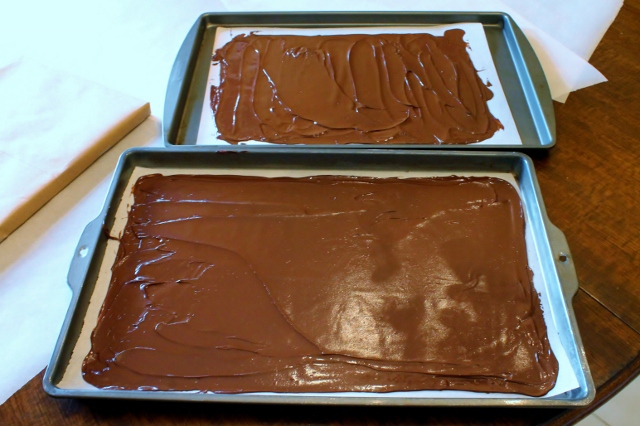 I decided to make chocolate shingles for the roof. I simply melted chocolate and spread it out on a tray covered in parchment paper. I put it in the freezer for about 15 minutes so the chocolate could harden slightly.
 When the chocolate was hard, I cut it into small squares to make shingles and then broke them apart. You have to work fast when you do this because the chocolate will soften as you handle it.
 Starting with the bottom edge and working in rows, I tiled the roof with chocolate shingles. I placed them swirled side up because I like the way it looked.
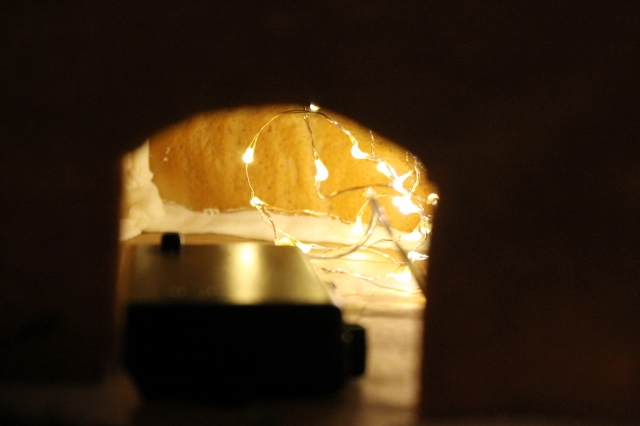 I love to light up my gingerbread houses. I placed battery operated LED lights inside the church. Some patterns do not include a hole for lights so if you want to add lights, remember to cut a small hole in the back of the house before you bake it.
Happy Holidays!
Leslie xo
- 6 3/4 cups flour
- 1 tablespoon cinnamon
- 1 1/2 teaspoons ginger
- 1/2 teaspoon salt
- 1 1/2 cups light corn syrup*
- 1 1/4 cups packed light brown sugar*
- 1 cup margarine
- Preheat oven to 350 degrees.
- Stir the dry ingredients together in a large mixing bowl.
- Combine corn syrup, brown sugar, and margarine in a 2 quart saucepan. Stir constantly over medium hear until margarine is melted.
- Stir the liquid into the flour mixture in an electric mixing bowl with paddle attachment. Mix on medium to high speed until well blended. Dough will become very stiff.
- Form dough into a ball and cover in plastic wrap.
- Refrigerate until dough is easy to handle**
- Roll dough on parchment paper about 1/8" thick and cut into desired shapes.
- Bake for 10-12 minutes or until golden brown. Check for air bubbles during baking process and prick with toothpick to deflate them ( I CAREFULLY tap them with my finger)
- Slide gingerbread onto large cookie sheet or baking rack to cool, making sure all pieces lie flat.
*Dark corn syrup and dark brown sugar may be substituted and will result in darker dough **Do not refrigerate dough more than a few minutes. You just want to cool it until it is easy to work with. This dough starts out a little sticky but becomes very pliable and is actually easy to work with. You can use a little bit of flour to get it started but after the first roll or two it will roll nicely with out it.
- 3 eggs whites at room temperature
- 1 16 oz box confectioner's sugar, sifted
- 1/8 teaspoon cream of tartar
- Place egg whites in an electric mixing bowl.
- Stir cream of tartar into egg whites.
- Add confectioner's sugar to egg whites and mix on low speed, scraping bowl, until well blended .
- Turn mixer on high and beat until mixture is thick and white and holds stiff peaks about 5 -6 minutes.
- Once the icing is finished you will want to cover it with a damp cloth or plastic wrap as it will dry quickly and form a crust.


