 I've always been a creative person and I love trying new things. Last year I needed a holiday gift idea for my girlfriends and when I couldn't find what I was looking for, I thought it might be fun to make them something. I hadn't done that in a while and I was in the mood to get "crafty" so I figured it was time for a DIY project. I decided to make dessert stands so, naturally, I went to Pinterest for some ideas. There were so many different styles and techniques. People were using everything from glass and glue to wood and paint. After researching different options, I came up with a way that worked for me. My result was an inexpensive and durable, not to mention pretty, dessert stand that was easy to make and fun to use. This is how I did it.
You will need to gather some supplies:
- plastic plate ~ I bought the plate for this stand at Target. It is a 12" square. You can use any size you like.
- wooden candle holder ~ I used a 6" candle holder from Pier 1 for this stand. I have also used 12" candle holders for taller stands.
- glass cabinet knob ~ You will need a standard cabinet knob (not a drawer pull). I found them at Home Depot.
- hanger screw ~ I used a 2" hanger screw for this stand. A hanger screw is threaded on both ends (also at Home Depot).
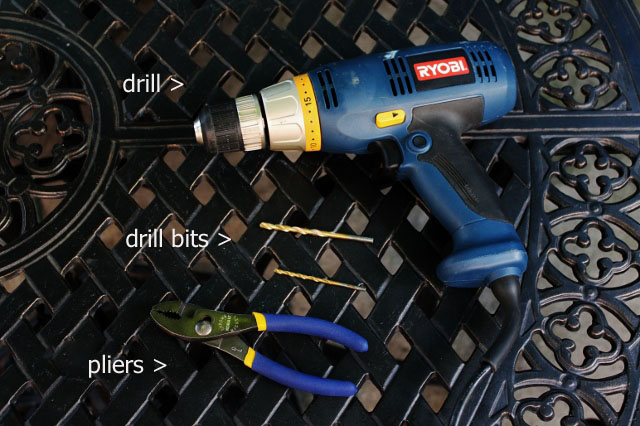
You will also need some tools:
- drill & drill bits ~ You will need one drill bit that is slightly thinner than the hanger screw (about 1/2 the diameter) This one will start the hole for the hanger screw to go into the candle stick. You will also need a drill bit that is slightly larger than the hanger screw. This one will make the hole in the plate.
- pliers
- pencil
- measuring tape or ruler
Step 1: Working on the top side, measure and then mark the center of the candle holder with pencil.
Step 2: Carefully drill a hole straight down into the candle holder where you put the pencil mark. Hold the bottom, not the top of the candle holder with your other hand. You are just drilling a starter hole which only needs to be about 1/4 of the total length of the hanger screw.
 Step 3: Using the pliers, screw the hanger screw (the side with the large threads) straight into the hole you just made. Carefully hold onto the center of the screw with the pliers while you are turning it so you don't damage the threads.
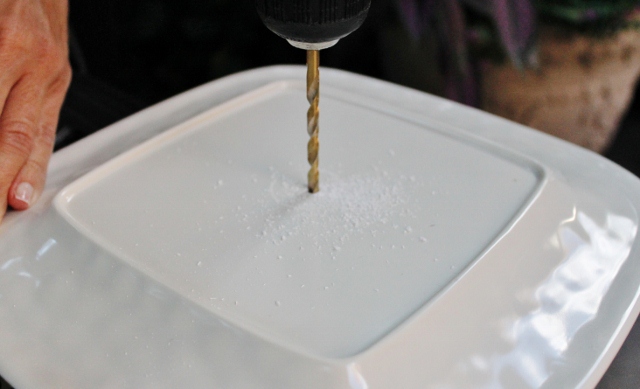
 Step 4: Turn your plate over. Measure and then mark the center of the plate with a pencil. Keeping the plate turned over, place it on the end of a table or workbench. I highly recommend a work bench or outdoor table and not a kitchen counter or table! Holding onto one end of the plate and making SURE the middle is NOT on the table, carefully drill a hole through the center of the plate.
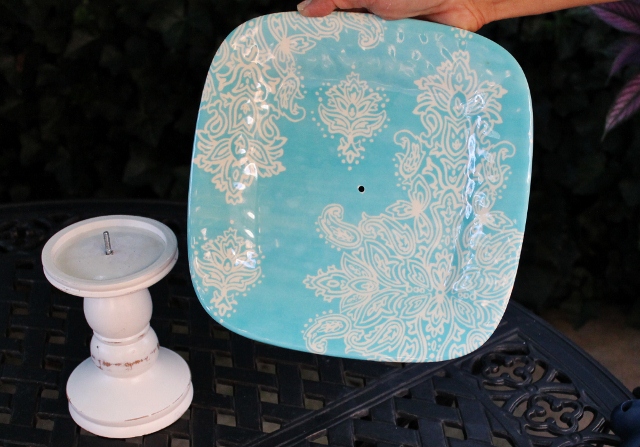
 If you drilled properly, you now have two pieces of a dessert stand that need to be put together. If you didn't, just try again and be glad the plates were cheap!
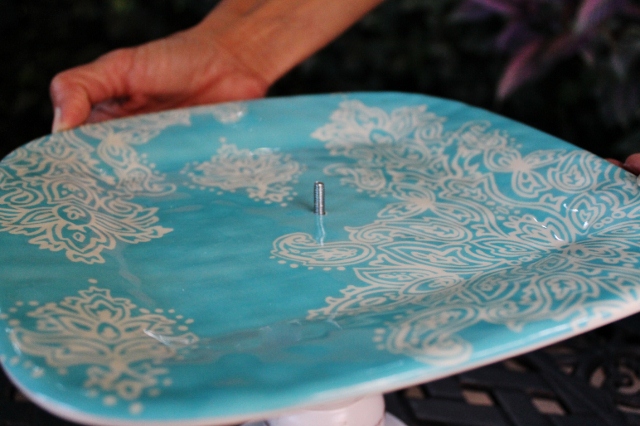
 Step 5: Place your plate over the screw on top of the candle holder.
 Step 6: Twist your cabinet knob onto the screw and tighten until everything is secure.
 You now have a pretty little dessert stand that can be used for serving cookies, candy or even simple hors d'oeuvres!
 It's that easy! There are so many options when you start mixing color and style. I like looking for different shapes and sizes of plates and candle holders. Since I gave my dessert stands as gifts, I wrapped them with things like dessert napkins and decorating sprinkles. It would even be fun to add recipes or a favorite batch of cookies!
Have fun!
Leslie xo
*TIP* Do not submerge your dessert stand in water. Wipe clean with a damp cloth and dry. Although you can disassemble the dessert stand, I don't recommend doing it often because the screw may become stripped after repeated knob removal. While I personally love the idea of switching out the plates, I don't think the stand would last as long if I did that.
Photos by Leslie Reese


