

Wine Label Coasters - DIY
 Today I am sharing a DIY with you that I came up with in the wee hours of the morning while I was lying awake in bed thinking. Don't you love when that happens? I do! I had been planning to make some coasters out of ceramic tiles and pretty paper. I was trying to come up with a unique way to do it and for some reason, I thought it might be fun to use wine bottle labels. Many of us save the corks from our favorite bottles of wine. I love that idea and I do it too, but what about the labels? Would that work on a coaster? It did work and I am going to show you what I did but I am also going to warn you, it wasn't that easy to get some of the labels off of the bottles! What seemed like a perfectly good idea in the middle of the night, turned into a tedious project that I was determined to complete but might not do again anytime soon. I do love how they turned out though so it was worth the effort.
 This is a project that takes some time because you will be removing labels from empty bottles. Some of them will come off easily, others won't. In order to get several usable labels, you might go through twice the amount of bottles. I simply ran this bottle under hot water and the label peeled off without much trouble.
 I soaked this label in hot water and it still wouldn't come off so I wasn't able to use it.
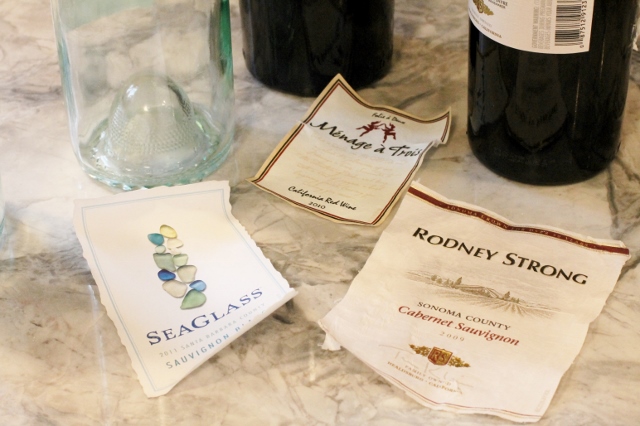 Eventually I had several labels I was able to use. If they were wet I waited for them to dry completely before I continued.
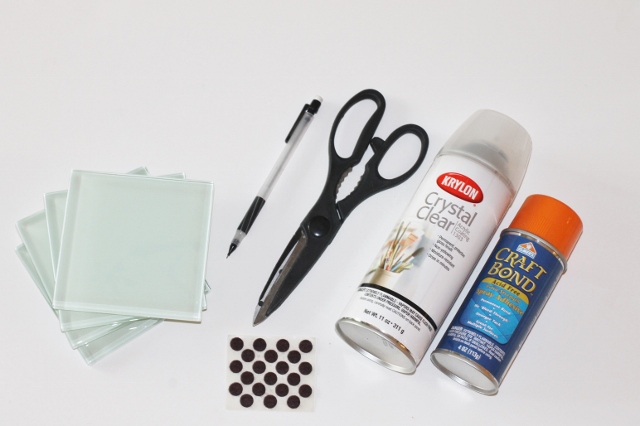 To make the coasters I used 4" X 4" glass ceramic tiles I picked up at Home Depot, Extra-Strength Spray Adhesive to attach the labels to the tiles, Crystal Clear Acrylic Coating to form a water-resistant surface on top of the tile, and felt pads for the bottom of the tiles.
 Some of the labels were bigger than the tiles so I marked them with a pencil once I placed them where I wanted them.
 I cut off the excess label.
 I flipped the label over and carefully sprayed it (in a well ventilated area) with adhesive. There were a few labels that still had adhesive on them after they were peeled from the bottle but I sprayed those too to make sure they didn't lift from the tile.
 Once the label was sprayed with adhesive I immediately placed it on top of the tile moving quickly to put it in place. This is when I realized just how sticky and permanent spray adhesive is! If you do this, be careful. Cover your work area and if you touch the adhesive, like I did, and it gets all over your fingers, you can use baby oil to remove it. I was being a bit of a reckless crafter here! I get a little excited and move too fast at times! Oops...
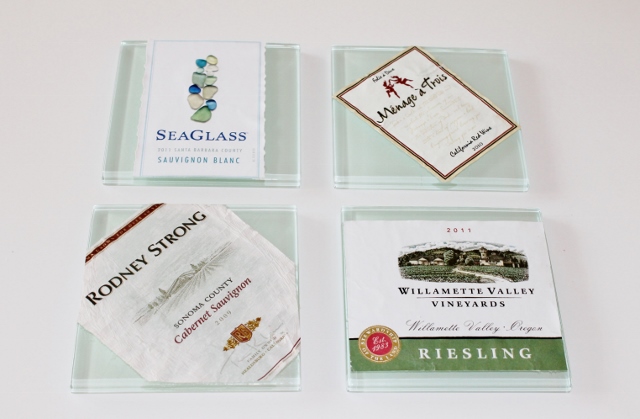 Eventually I had four labels glued onto the tiles. I decided that was enough to make a set of coasters.
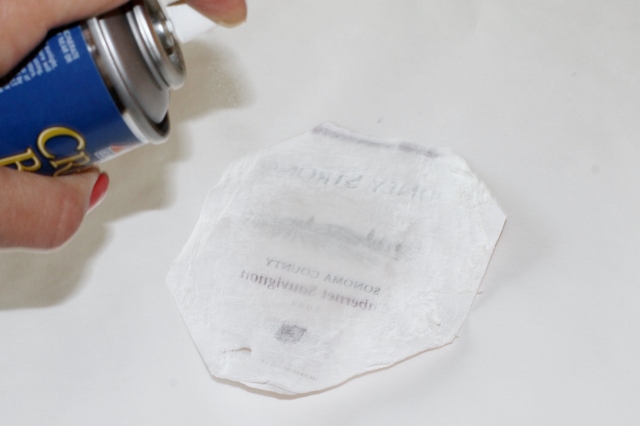
 I sprayed the top of the tiles with Acrylic Coating (again, in a well ventilated area). I waited for it to dry and repeated the process numerous times until the labels were well coated and the tiles had a nice shiny surface.
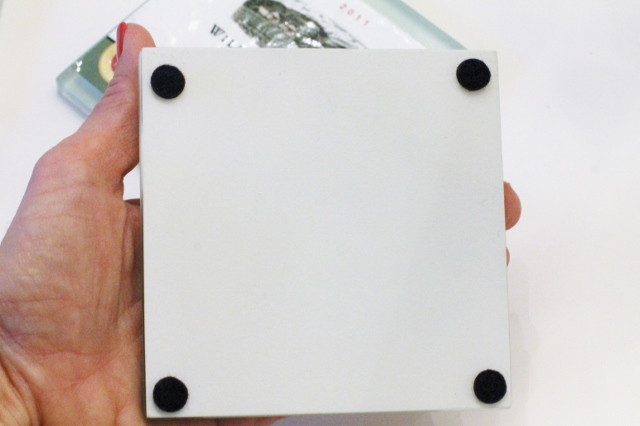 After the tiles were completely (and I mean completely) dry, I flipped them over and attached four felt pads to the bottom of each one.
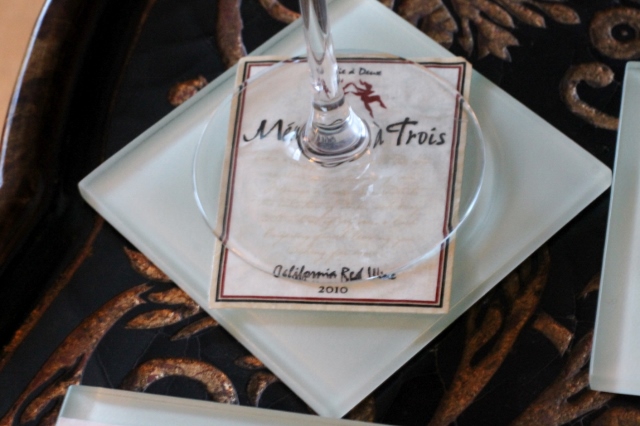 I now have a set of coasters that are not only fun to use but make great conversation pieces. Each one tells a different story or has a special memory and for that reason, I loved creating them.
I did, however, learn a few things in the process that I think are worth sharing...
There are a million ways to remove wine bottle labels on the internet. Everything from soaking to buying special products. If you choose to do this, just Google it to find the best methods.
Spray Adhesive is serious stuff. Period.
Layers of Acrylic Coating need plenty of time to dry (especially if you don't want your wine glass sticking to it). If you think it's dry, it probably isn't.
Patience is a virtue.
It may not seem like it, but I want you to try this project. I just want to be honest about my experience. Basically, I got an idea, tried it, and learned a lot. Bottom line- I LOVE these coasters.
Be brave and try it! And by all means let me know if you do! I can't wait to hear all about it!
Leslie xo
Sangria

During the summer months when the days are long, the weather is hot and people are getting together for outdoor parties and celebrations, Sangria is often on the menu. Sangria is a simple combination of wine, brandy, fresh fruit, and some sort of sweetener. To me, Sangria is a fun way to serve a glass of wine. It's something you can prepare ahead of time and since you serve it in a pitcher or a drink container, guests can easily help themselves. It's a great option if you don't want to be tending bar during a simple party.

This summer has been very busy for us so Sangria was a great beverage to put on our Happy Hour menu, especially at the beach! I made three different versions this year; red, white and rose so there was something for everyone. The recipes are simple and can be altered in any way to suit your taste. I used fresh, seasonal fruit for the best flavor and I used inexpensive wine because this is one time when it won't matter! That's the beauty of Sangria! So use these recipes as a "guide" as you create your own version of Sangria for your next gathering. And remember, you can make Sangria all year. Just changing up the fruit gives you so many delicious options!
Cheers! xo

This recipe for Red Sangria uses 2 bottles of wine and is great for a larger serving vessel. If you just want enough for a smaller pitcher you can easily cut back on the wine and other ingredients.
Red Sangria
Recipe
Ingredients
1 orange sliced
1 apple sliced
1 lemon sliced
1 lime sliced
1 cup orange juice (fresh squeezed is best)
1 cup brandy
1 cup lemon club soda or seltzer
2 bottles red wine
Method
Pour brandy and orange juice over fruit in a large pitcher or serving container. Add wine and club soda or seltzer. Serve cold.

This recipe for White Sangria doesn't have brandy in it. I wanted this version to be simple and light with a hint of fruit so the only extra ingredient is club soda.
White Sangria
Recipe
Ingredients
1 sliced peach
1 sliced mango
1 sliced red apple
1 sliced Granny Smith apple
1 plum
1 sliced pear
1 cup lemon club soda
2 bottles of white wine
Method
In a large pitcher or serving container combine fruit, club soda and wine. Serve cold.

Rose Sangria
Recipe
Ingredients
2 cups fresh strawberries sliced
2 cups fresh blackberries
1 lemon sliced
1 cup fresh pineapple cut into chunks
1 cup brandy
1 cup lemon club soda or seltzer
2 bottles rose wine
Method
Pour brandy over fruit in a large pitcher or serving container. Add wine and club soda. Serve cold.
*Notes
~ Feel free to chop your fruit into smaller pieces if you would like to add it to the glasses for serving. I used larger slices of fruit in these recipes because I liked how it looked in a larger container.
~ If you have time it's a great idea to soak the fruit in the brandy and/or wine mixture before you serve it. The flavor gets better as things marinate. You can marinate the fruit for a couple of hours or overnight. Then add the club soda just before serving.
~ You will notice I don't add sugar to my Sangria. I don't think it's necessary but if you want to sweeten yours up you can add 1/2 cup or so of sugar to any of the recipes.

Photos by Leslie Reese and Tara D'Aloisio
Here's what's coming up...
You can put any content in here.