Blogging for a Purpose

CFCA-quoteToday instead of sharing my regular Favorite Things post, I decided to share something that in many ways, has become a favorite thing for me. It looks very different than a list of favorite candies, comforts or websites. It's something with more of a purpose and something that I am proud to be a part of.

My involvement with CFCA, Christian Foundation For Children and Aging, began six years ago when I had the opportunity to participate in a sponsorship event at our local church. I was extremely moved by the stories of families that have been helped by CFCA. This organization works hard to provide support that benefits the family as a whole by focusing on education and creating a better future. They are currently serving more than 300,000 children, youth and aging persons in more than 22 countries around the world.

429765
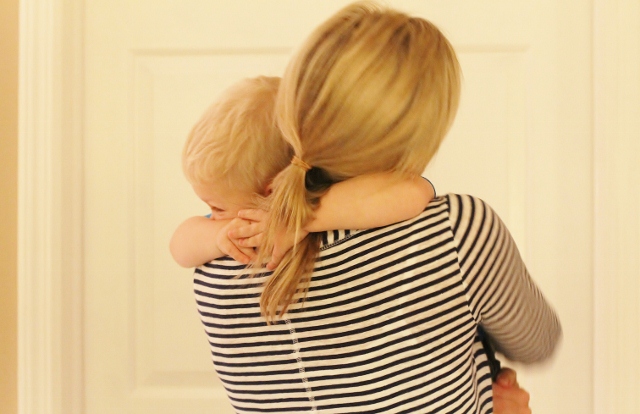
This little girl is now part of our family. She is very special and we are so proud of her.

Once the presentation was over, I sat for a minute and thought about my options. I hesitated, naturally wondering things like whether or not all of the money really goes to these families and would I really be helping the specific child who's folder I chose. I could walk away or I could help. Something told me to help, so I did. I decided to sponsor a child from Guatemala. She was 12 years old at the time. At that moment,  I felt like I had done my good deed for the day. Little did I know, I was not just changing the life of this child, but my own life as well.  It wasn't long before I was receiving letters and photos of my newly sponsored child. It was wonderful to watch her progress and I was overwhelmed with the gratitude that she expressed in each letter that was sent. I knew I was making a difference.

CFCA-Guatemala (1)

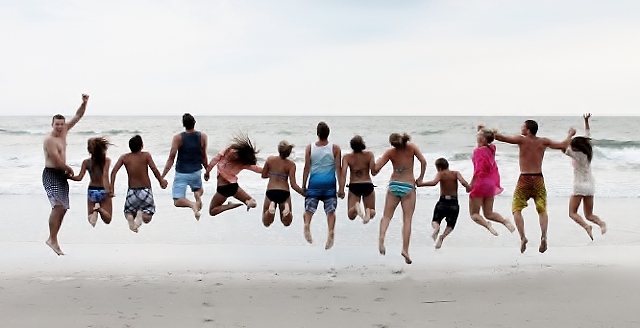
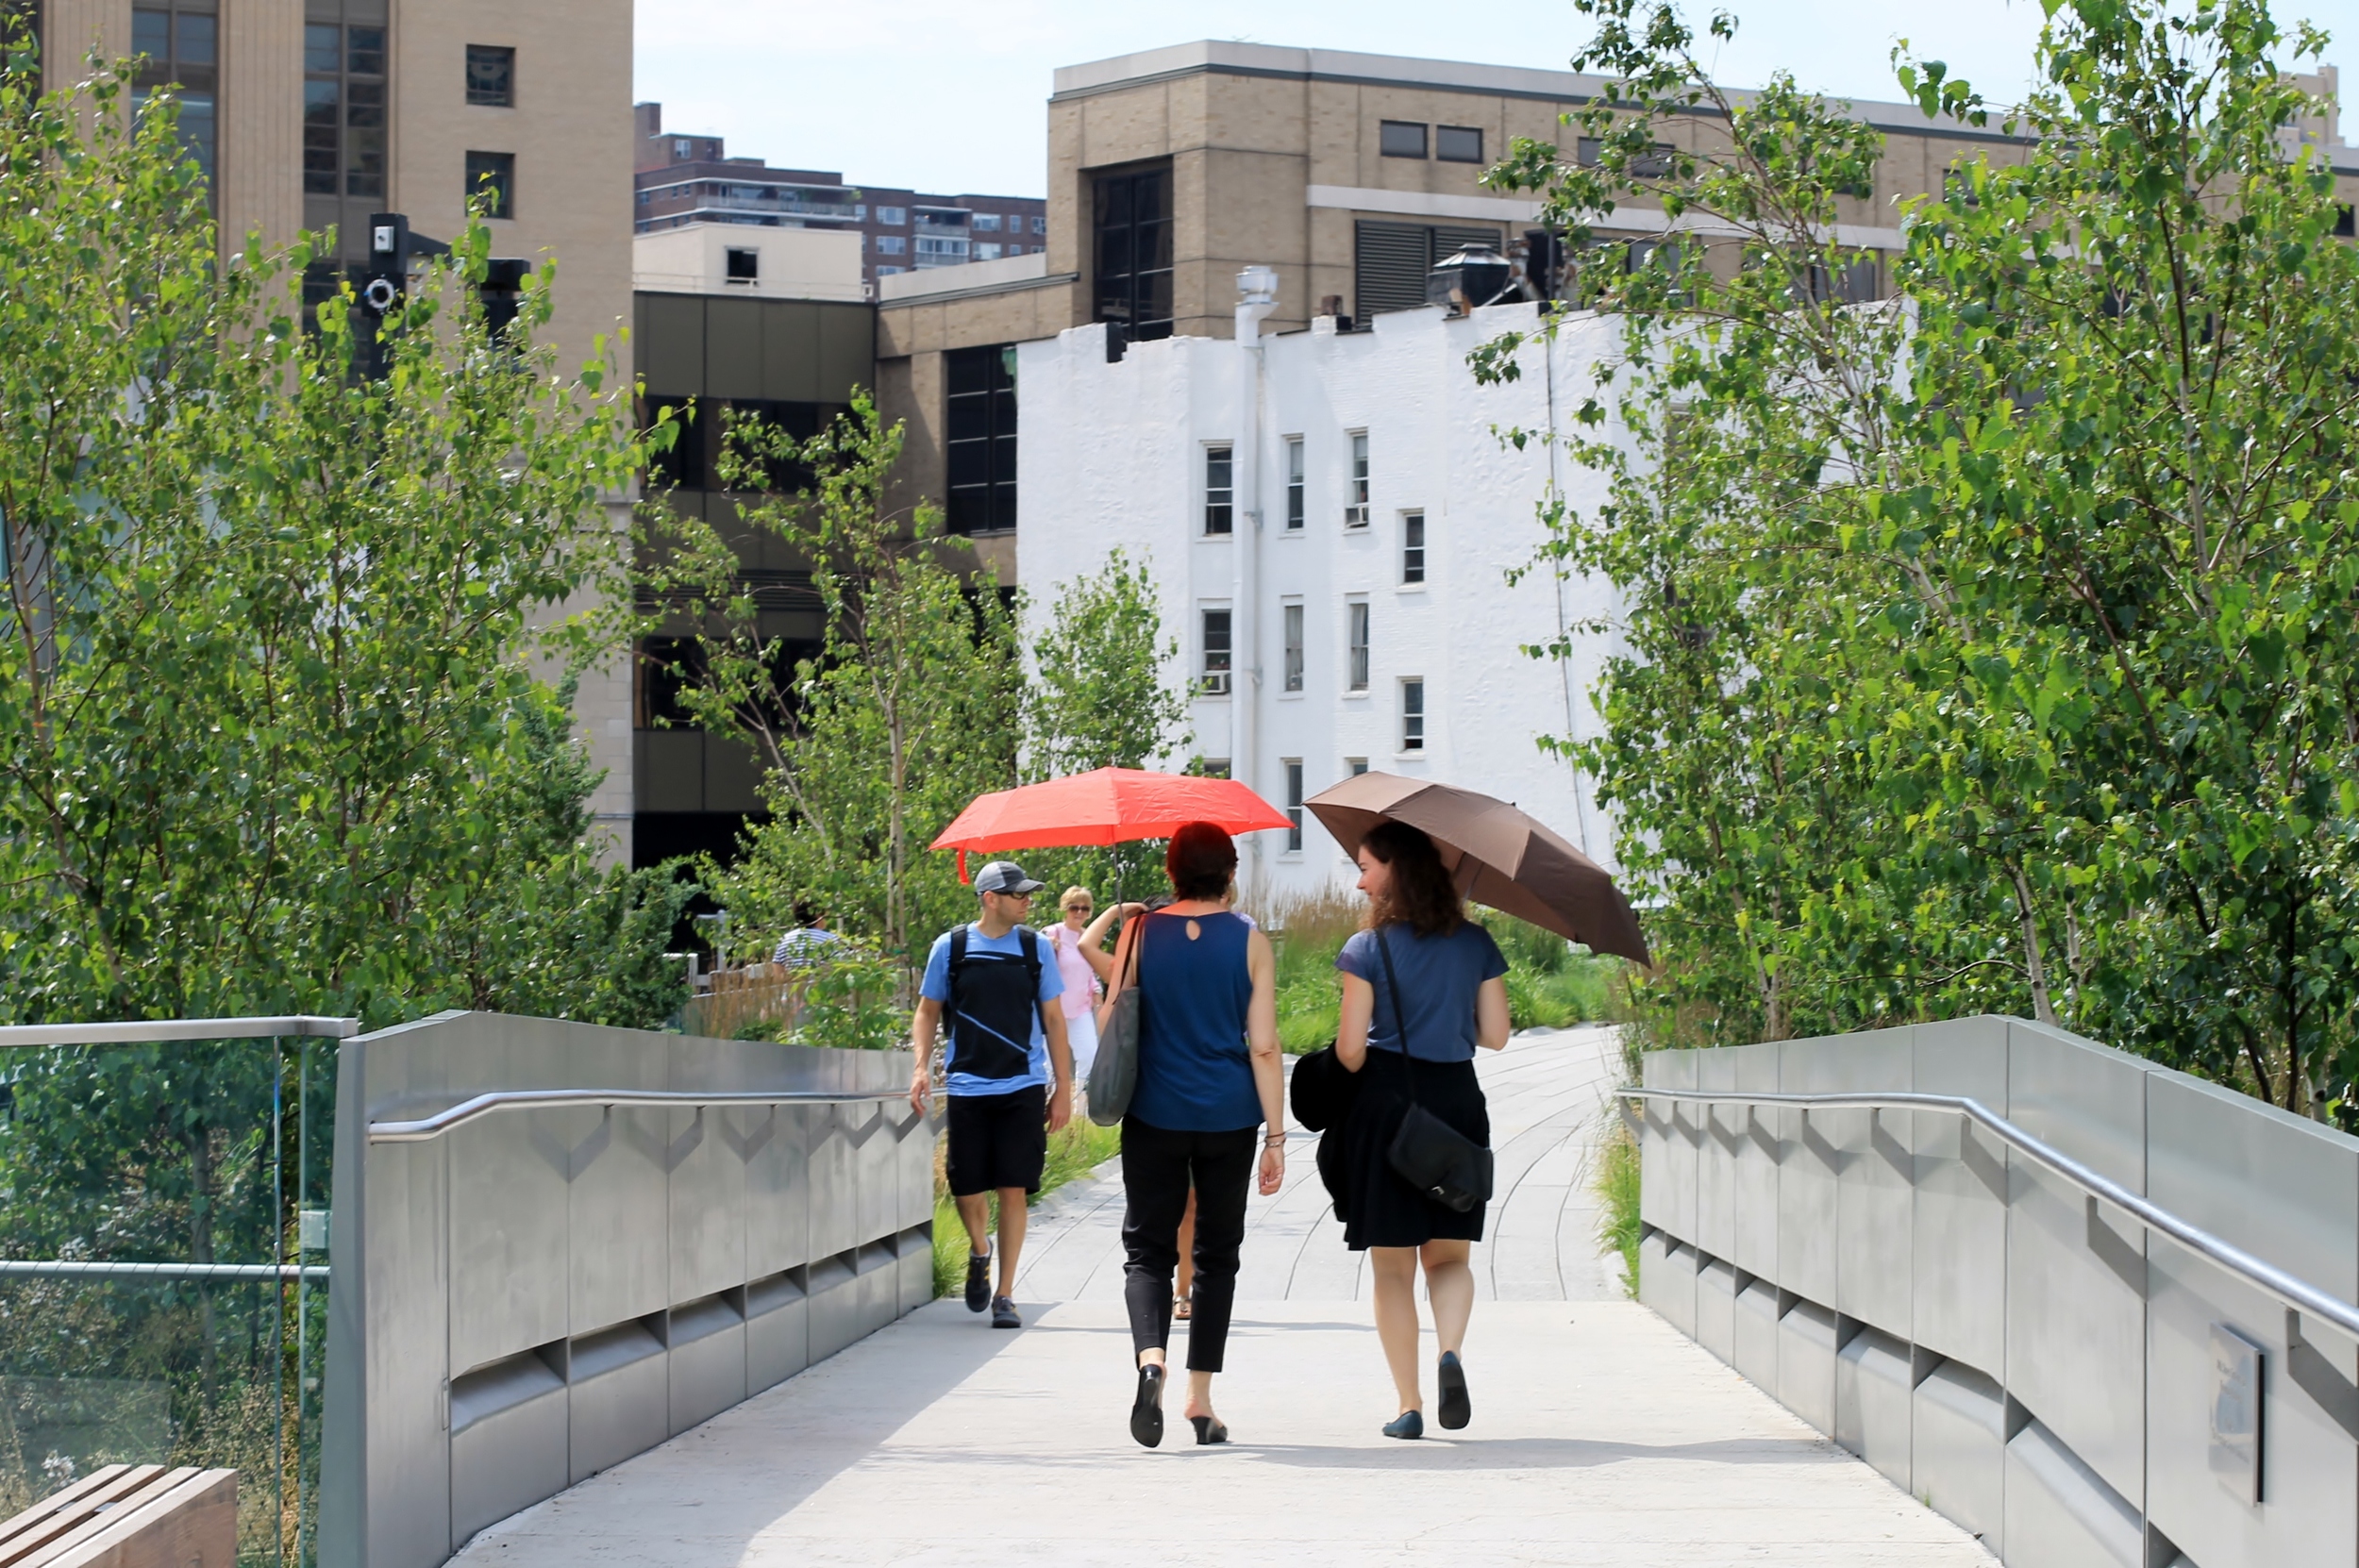
The following year, my daughter Elizabeth decided to participate in a Semester at Sea program while she was in college. She would be traveling to several third world countries during her trip. We were busy planning and getting her ready to go and one day it hit us, she would be going to Guatemala! We decided to contact CFCA to find out if it would be possible for Elizabeth to visit our sponsored child. We figured it was a real long shot but why not look into it. What happened next was truly life changing. After many back and forth emails and phone calls, the CFCA team arranged for Elizabeth to meet our friend and her mother. It wasn't easy. By the time it was all arranged Elizabeth was well on her way, in the middle of the ocean, but after a continued effort on all of our parts, we connected Elizabeth to our friend and they had a chance to meet. They exchanged small gifts and had a chance to  speak through a translator. It was an overwhelming and humbling experience for Elizabeth and a moment of extreme gratitude for our new friends.  One of the most profound moments for me was to hear what Elizabeth had to say when she returned from that trip. She told me that as she traveled  from country to country, she noticed that the people who had the least were the happiest and most grateful. They appreciate the little things.

CFCA-Guatemala
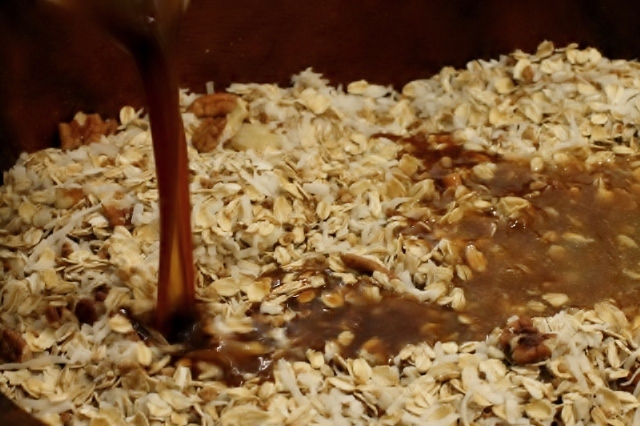
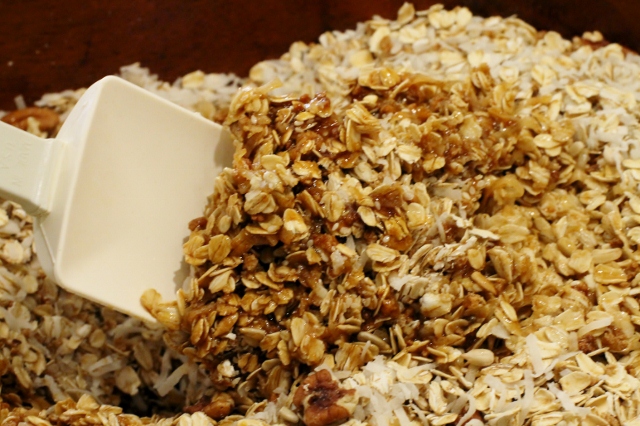
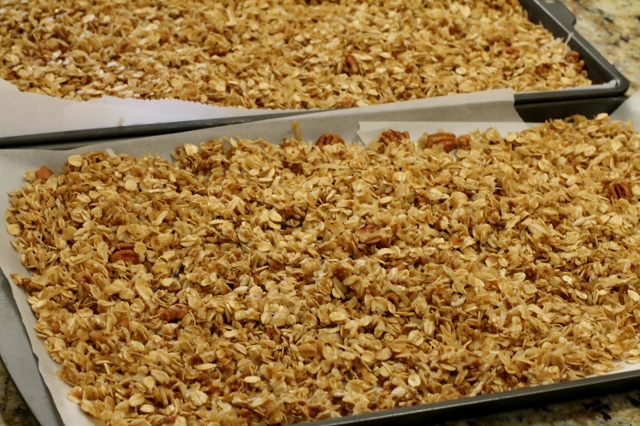
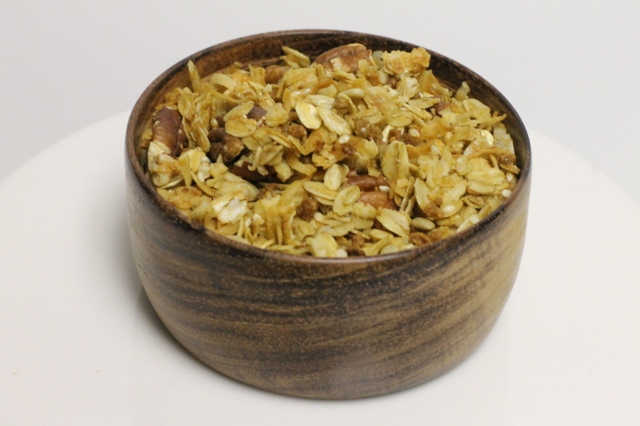
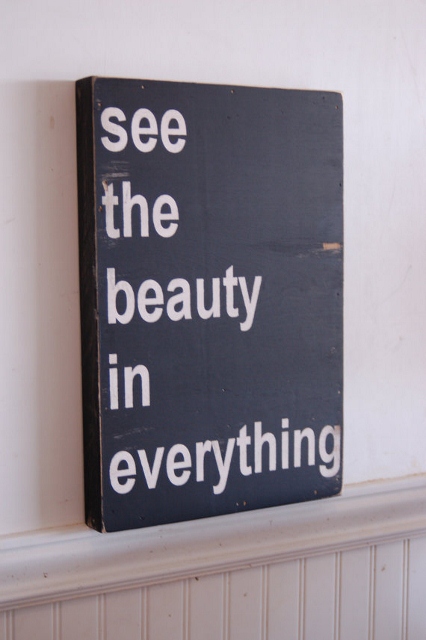
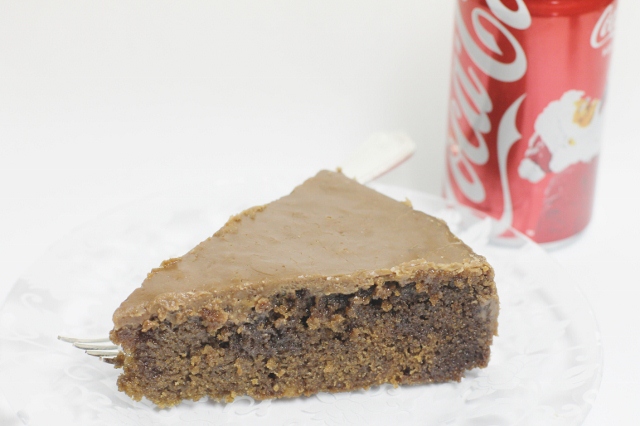
I am extremely impressed by the work that CFCA does and I am thrilled to be a part of such a wonderful organization. In an effort to collaborate with the CFCA community, I will be dedicating a page on my blog specifically to this foundation. I plan to bring you inspiring stories and information about the many people involved. I will be sharing special recipes from the countries where our sponsored friends live. It's fascinating to see how bread is baked  without a traditional oven! I hope you'll stop back to check out the CFCA page, which will be up soon. Feel free to leave comments, get involved or just stick around to be inspired. It's amazing how one small act of kindness can change so many lives. Whatever you chose to do, make it count!

Happy Friday! Have a wonderful weekend!

Leslie xo

*Names and exact locations were not used in order to protect the privacy of our sponsored friend. All opinions are my own. This is not a sponsored post.

*Please note ~ CFCA is now UNBOUND

Celebrating Fasnacht Day

Celebrating-Fasnacht-Day (11)I grew up, and still live in Central Pennsylvania. Each year, on the Tuesday before Lent, people in the Pennsylvania Dutch Country, who are largely German American, celebrate Fasnacht Day. Also known as Mardi Gras or Shrove Tuesday,  Fasnacht Day is the tradition of using up the fat in your house before the Lenten season begins. When I was a kid, it was an excuse to eat a doughnut, which is basically what a Fasnacht is. Being a person of tradition, I jumped right on board with the celebration when my kids were little and we would spend that morning making our own Fasnachts. We did it the easy way. I bought refrigerator biscuits and they would roll them out and cut a hole in the center. We would fry them in oil and they would each have their own little plate of  "Fasnachts". It was a tradition we all enjoyed.This year, for some reason, I decided it would be fun to make actual Fasnachts from scratch so I did some research and found a recipe. My experience was interesting. It was not a difficult process but it was a little time consuming. I'll show you what I did.

Celebrating-Fasnacht-DayThe ingredient list is simple but I had to get past the fact that you use lard and/or oil. Just reading that part of the recipe had me running toward the treadmill. Then I remembered that's what "Fat Tuesday" is all about, and I kept going.

Celebrating-Fastnacht-Day (4)Once the ingredients are mixed and kneaded together, the dough has to rise for about 4 hours.

Celebrating-Fastnacht-Day (5)The dough is then rolled out and cut into squares or rectangles. The shape of the Fasnachts vary depending on where you are.

Celebrating-Fastnacht-Day (6)Most Fasnachts don't have a hole in the center.

Celebrating-Fastnacht-Day (7)Once the Fasnachts are cut into shapes, they sit and rise for another hour.

Celebrating-Fastnacht-Day (8)The Fasnachts are fried in oil until both sides are golden brown.

Celebrating-Fastnacht-Day (9)They are placed on paper towels to drain and cool.

Celebrating-Fastnacht-Day (10)I sprinkled my Fasnachts with regular and powdered sugar.

Pennsylvania Dutch Fasnachts
Author: Adapted from Food.com
Serves: Approximately 30 Fasnachts
Ingredients
  • 2 cups milk, scalded and cooled to lukewarm
  • 1/3 cup lard or vegetable oil
  • 3/4 cup sugar
  • 1 teaspoon salt
  • 2 eggs, beaten
  • 1/2 cup lukewarm water
  • 1 package dry yeast, dissolved in the water
  • 3 lbs unbleached, all-purpose flour (to stiffen)
Instructions
  1. Mix together all ingredients except flour.
  2. Gradually add flour, stirring well using spoon, until too thick.
  3. Using hands, start kneading, gradually adding more flour until no longer sticky.
  4. Cover with a wet cloth and let rise in a warm place for about 4 hours.
  5. Roll dough on a floured board to 1/2 to 3/4 inch thickness.
  6. Cut into rectangles about 2 1/2 x 3 1/2 inches.
  7. Make hole in center (optional)
  8. Place on floured board and let rise about 1 hour.
  9. Deep fry in lard or vegetable oil at 360 degrees until golden brown.
  10. Flip to other side and brown.
  11. Drain on paper towels.

As you can see, making Fasnachts is not a quick process, at least not with this recipe. I'm glad I tried them. It was fun and I definitely learned a few things. I'll try anything once, and in this case, only once. I prefer to hang onto the memories of making the simple version with my kids. That's what  it's really about. Tradition and celebrating the little things!

Enjoy the day!

Leslie xo

Favorite Things

3BF8ABB0-1C23-C7A0-B3686E4865FA7316Gertrude Hawk Dark Chocolate Smidgens. One of my all time favorites!

Valentine's Day is coming up next week and in my mind that means a green light to eat dessert! It will be one of those days when my "everything in moderation" theory kicks in and I will happily indulge in something sweet. Why not? What's Valentine's Day without a little chocolate? Of course there are plenty of ways to show your love for someone but in my world, if it accompanies a box of chocolate, it's that much better! I guess that makes me a chocoholic. I am more than OK with that label and thought it would be fun to share some of my favorite chocolate things with you today. Happy Friday!

210413Ultimate Chocolate Fondue from Ghirardelli

Chocolate-Covered-Strawberries2Chocolate Covered Strawberries from Food Network

Mini-Chocolate-Cakes-SweetapolitaBoxed Chocolate Mini Cakes from Sweetapolita

Chocolate-Sweet-HeartsChocolate Sweet Heart Cookies from Martha Stewart

Norman-LoveThe most beautiful and delicious handcrafted chocolates I have ever seen by Norman Love Confections.

Raspberry-Chocolate-Kiss-CocktailRaspberry Chocolate Kiss Cocktail from Martha Stewart. A perfect compliment to a chocolate dessert!

I hope you indulge in something sweet this Valentine's Day! Have a wonderful weekend!

Leslie xo

Simple Painted Bar Glasses - DIY

Painted-Wine-Glass-DIYThis past week I was browsing Pinterest and I came across some interesting painted bar glasses. They were similar to glasses you would find at Anthropologie and I loved them. As usual, I had the urge to "make something" so I thought I would give them a try. They looked easy to make and since I have more on my to-do list than I have hours in a day, I figured it would be a perfect project to satisfy my creative mood, without throwing me too far off track. I grabbed some stemless wine glasses from the bar, picked up some paint and got busy. It was a simple project and I love how they turned out! I'll show you what I did.

Painted-Wine-Glass-DIY I used glasses that I already had at home. You can buy inexpensive glasses in places like Target or Walmart. The glasses from Anthropologie were speckled in bright colors. I decided to jazz my wine glasses up with metallic paint instead. I picked up some Martha Stewart Acrylic Craft Paint (multi-surface) at Michael's in 3 different colors, Pale Bronze, Brushed Bronze and Sterling.

Painted-Wine-Glass-DIY (1) (640x426)I worked on a large sheet of parchment paper. I know it's made for baking but I have tons of it and it works well for small projects. I squeezed quarter sized amounts of paint onto the paper. I added more when I needed it. That way it didn't dry out too quickly.

Painted-Wine-Glass-DIYUsing a Q-tip, I just started randomly painting little dots and smudges all over the bottom half of the glass.

Painted-Wine-Glass-DIYI worked with one color at a time and painted all four glasses, then started over with the next color. That way the paint had time to dry between each color and kept the dots from blending together.

Painted-Wine-Glass-DIYI created the look I wanted by layering the paint colors. When I finished painting the glasses, I let them sit for a day to dry. The Martha Stewart paint that I used needs to cure for 21 days and then the glasses will be top-rack dishwasher safe. I wanted to use my glasses the next day so I carefully hand washed them. They were fine. I probably won't ever put them in the dishwasher. Make sure you check the directions on your bottle of paint so you know how to care for your glasses.

Painted-Wine-Glass-DIY What's fun about this project is there really isn't a right or wrong way to do it. It's a quick and easy way to turn something ordinary, like an inexpensive glass, into something that makes pouring a drink a little more fun!

Cheers!

Leslie xo

Favorite Things

comfort-chicken-soupHomemade chicken noodle soup on a cold or rainy day.

During the winter months, we hear the words "comfort food" a lot. And lately, for some reason, I find myself thinking about what that means. If you look up the word comfort, it means a sense of physical or psychological ease. That makes sense. Eating chocolate certainly puts my mind at ease! Food can be a great source of comfort for most people. It's different for everyone. So what about the other things that represent comfort? It's a word that I have obviously thought about a lot this week so I decided to share my favorite "comfort" things with you today. Happy Friday!

comfort-chocolate-cupcakes (2)Chocolate Cupcakes with Chocolate Frosting

Comfort-HugsEvery single hug my grandson gives me. One of the most comforting things in life!

comfort-flowersSpring flowers in the middle of winter. Stone-Harbor-2012 Knowing that the bonds that have been created in our family over the years are being carried through the generations.

comfort-kidsA text from your son that lets you know he got back to school safe and sound.

Sometimes it's the littlest thing that make you feel warm and fuzzy. Whatever it is, it's a great feeling. What are your favorite "comfort" things? Have you thought about it lately?  Have a wonderful weekend!

Leslie xo

Super Easy Super Bowl Recipes

Super-Bowl-RecipesRemember earlier this month, when I said I wasn't making a resolution to give up my favorite foods? Well, this is one of the reasons why.... Sunday is Super Bowl Sunday! And although I admit, I am not much of a football fan, I never said I didn't like a party! Super Bowl Sundays were made for parties. That means lots of good food! Whether you are hosting the party, hanging on the couch with family or going somewhere to cheer your team on, you will most likely be whipping up something for the game. If you have a busy week and don't have a lot of time to spend in the kitchen, you might want to check out the recipes I am sharing today. All three are super easy and can be made with just a few simple ingredients. Put them together and they make a meal so all you need are the cold drinks and some pretzels or chips and you're good to go! Make it easy this year and enjoy the party! I'm going to!

Super-Bowl-Pulled-Pork2Three Ingredient Pulled Pork Sliders

My daughter Lynsie found a great recipe for pulled pork while she was in college. We would make it in a crock pot and take it to the tailgate parties at the Virginia Tech football games. It was a big hit with the kids and the parents. It's great for a crowd but can be made in smaller amounts for a family dinner. It's ridiculously easy to make and absolutely delicious! Our favorite buns to use are the Kings Hawaiian Sweet Rolls. The small dinner rolls make great slider buns.

3 Ingredient Pulled Pork Sliders

Author: Adapted from Tablespoon
Ingredients
  • Pork Tenderloin - approximately 2 lbs
  • Root Beer - 2 bottles or 1 liter
  • Sweet Baby Ray's Barbecue Sauce - approximately 16 ounces
  • Slider buns
Instructions
  1. Place pork tenderloin in crock pot or slow cooker.
  2. Pour Root Beer over pork to almost cover.
  3. Cook on low for 5-6 hours or high for 3-4 hours (or until pork will shred easily with a fork).
  4. Remove pork and discard the Root Beer.
  5. Shred pork and place back in crock pot.
  6. Cover with barbecue sauce and heat through.
  7. Serve on your favorite slider buns.
Notes
*Servings will vary according to the size of the pork tenderloin used. You can use several tenderloins for a large crowd, just cover with enough root beer and add more barbecue sauce.

Broccoli-Sunflower-PoppyseedBroccoli Sunflower Seed Slaw with Poppy Seed Dressing

Broccoli Sunflower Seed Slaw with Poppy Seed DressingLynsie also found this recipe for Broccoli Sunflower Seed Slaw with Poppy Seed Dressing. It makes a great side dish for the pork sliders. Once again, 3 simple ingredients. We like to use Brianna's  Home Style Poppy Seed Dressing but any poppy seed dressing is fine.

Broccoli Sunflower Seed Slaw with Poppy Seed Dressing

Author: Adapted from The Yummy Life
Serves: 6-8 servings
Ingredients
  • 1 bag prepared broccoli slaw
  • 3/4 cup poppy seed dressing
  • 1/2 cup sunflower seeds
Instructions
  1. Toss broccoli slaw and dressing in a large bowl.
  2. Add sunflower seeds and toss until combined.
  3. Refrigerate 1-2 hours or overnight before serving.
Notes
Add sunflower seeds just before serving for a crunchier salad.

Marshmallow-Brownies2Marshmallow Brownies

Marshmallow-BrowniesAre you noticing a pattern here? All 3 recipes have 3 basic ingredients. These marshmallow brownies are made with a boxed brownie mix (we think Ghirardelli are the best), mini marshmallows and your favorite canned frosting.

Marshmallow_BrowniesSprinkle

Marshmallow_Brownies (1)Melt

Marshmallow_Brownies (2)Spread

Marshmallow Brownies

Author: Leslie Reese
Ingredients
  • 1 box brownie mix (I used Ghirardelli)
  • 1/2 bag or 2 cups mini marshmallows
  • 1 can of your favorite frosting (I used Duncan Hines Whipped Fluffy White Frosting)
Instructions
  1. Bake brownies according to package directions.
  2. Remove brownies from oven and sprinkle mini marshmallows in a single layer on top of brownies.
  3. Turn oven off. Put pan back in oven for 2-3 minutes or until marshmallows melt and come together (watch them closely).
  4. Remove from oven and cool completely.
  5. Spread frosting over marshmallow.
  6. Cut into squares to serve.

I could also call this group of recipes the "easy way out" menu because that's exactly what they are, easy. And what's wrong with that? Now you will have more time to enjoy your family and friends instead of hanging out in the kitchen waiting for everything to be done! Isn't that more fun? I think so.

Have fun!

Leslie xox


Favorite Things

winter copy Photo by Doug Reese

Wow is it Friday already? This week flew by! It was a productive one for me with lots of catching up, working on projects and planning events, all while trying hard to stay warm. We had some record breaking low temperatures in PA this past week and it made me think that maybe my three sisters who moved to California were the ones with the right idea! I love winter but these cold days had me begging for spring. It made me appreciate some of the little things that I depend on in the winter months to keep me warm, happy and not so chapped! Here are a few of my favorite ways to fight the chill of winter. They are simple, inexpensive and so effective. Happy Friday!

QticaLipBalmQtica Lip Balm

I'm pretty sure the word addicted would be appropriate for me when it comes to Qtica. Ask anyone that knows me well (because I probably forced them to try it). This stuff is like gold and if you use it, you will never want anything else! It's that good!

NeutrogenaHandCream2Neutrogena Norwegian Formula Hand Cream

Neutrogena Hand Cream keeps your hands soft and your cuticles and nails from drying out. I keep one in my purse and one on my nightstand. Love it!

cerave-moisturizing-lotionCeraVe Moisturizing Lotion

Not everything you put on your face has to be expensive. My dermatologist actually recommended CeraVe lotion to me as a simple, every day way to keep my skin hydrated. I use it on my face and body. I love that I can get it in a drugstore.

duraflame

STAX fire starters from Duraflame

I love burning fires in the winter. I have a wood burning fireplace and wouldn't trade it for the world. There is nothing like the crackle of real wood. And although I consider myself somewhat of a Girl Scout, I prefer the quick start method over the "from scratch" method any day!

IMG_5914 (640x426)The Republic of Tea ~ Ginger Peach Decaf

As much as I talk about my love for a latte, I am a tea lover too. Republic of Tea is one of my favorite brands of tea and the Ginger Peach Decaf seems to be the perfect remedy for a cold winter day.

Comfy-Warm-BlanketChenille Throw from Restoration Hardware

This is one of my favorite blankets. It's a simple chenille throw that we picked up several years ago at Restoration Hardware. It's heavy, soft and warm.

So there you have it! Just a few little things that I appreciate this time of year. Simple? Yes. But isn't that what it's all about? Funny how  some of the littlest things can make you happy! Look for them, what are yours?

Have a great weekend!

Leslie xo

Homemade Granola Recipe

Granola- RecipeGranola is a food that is considered to be healthy by some and not so healthy by others. It is made with whole grains, nuts and fruit but can be loaded with fat and artificial sugar. I personally love granola. I am especially fond of the homemade kind you can find at a good bakery or cafe. My most recent discovery was at The Bakers Table in Lancaster, PA. Awesome little bakery, amazing homemade granola. I have the attitude that moderation is key when it comes to granola and I enjoy it in small quantities. My sister, Leigh Ann, shared her recipe for homemade granola with me a few years ago. It's one of the healthier versions I have found that still tastes really good. It's made with molasses which gives it a great flavor and it's light and crunchy making it a perfect topping for fruit or yogurt.

Granola-IngredientsThese are the main ingredients that make up the batch of granola I made for this post. What's great about granola, is that you can customize it with ingredients that you prefer. Feel free to use your favorite grains and nuts. This recipe calls for pumpkin seeds. I did not add them this time (because I forgot to!).

Homemade-Granola-Recipe (640x415)This recipe makes about 25 cups of granola, which is A LOT! You will need a very large bowl to mix all of the ingredients. I have a huge wooden bowl that I like to use. A roasting pan or baking trays would work too.

Homemade-Granola-Recipe (1) (640x426)Toss all of your dry ingredients together.

Homemade-Granola-RecipeThe wet ingredients are blended over low heat before they are added to the granola.

Homemade-Granola-Recipe The melted molasses mixture is added to the dry ingredients.

Homemade-Granola-RecipeToss all ingredients until well coated and place on baking sheets.

Homemade-Granola-BakingBake at 325 degrees until granola is golden brown.

Homemade-Granola-bowl

As I said earlier, this recipe makes a huge batch of granola so it's a fun thing to do with a buddy. My sister and I used to make it together and share it. She is now living on the West Coast so I either have to ship it to her or share it with my friends! Good thing it will stay fresh in an airtight container for a while!

Enjoy!

Leslie xo

Homemade Granola Recipe

Author: Leslie Reese
Ingredients
  • 3/4 cup canola oil
  • 1 stick of butter
  • 1/4 cup molasses
  • 1 tablespoon vanilla
  • 3/4 cup honey
  • 1/2 teaspoon salt
  • 2 pounds (approximately 12 cups) oats
  • 1/2 cup sesame seeds
  • 1 cup of your favorite nuts (almonds, pecans,walnuts)
  • 2 cups Grapenuts cereal
  • 1 cup wheat germ
  • 1 pound coconut
  • 1 cup sunflower seeds
  • 1/2 cup pumpkin seeds
  • sprinkle of flax seed (ground or whole seed)
  • assorted dried fruit (optional)
Instructions
  1. Preheat oven to 325 degrees. Line baking sheets with parchment paper.
  2. Melt first six ingredients in a pan over medium-low heat.
  3. Mix remaining dry ingredients in a large mixing bowl.
  4. Pour melted liquid over the dry ingredients and gently mix until the dry ingredients are evenly coated.
  5. Spread mixture (in small batches) on baking sheets. Bake, stirring every 5 minutes, for 20 minutes or until golden brown.
  6. Cool completely.
  7. Dates or dried fruit can be added after the granola cools.

Photos by Leslie Reese

Small wooden bowl handmade by Michael Reese

Favorite Things

favorite-things-stacking-bracelets (640x539) (2)Accessories are such a fun part of getting dressed and what we choose tells so much about us. Each piece adds personality to whatever we wear and helps us create our own individual style. Whether we are wearing jeans or a little black dress, we make a statement with the accessories we choose. Right now the stacking bracelet trend is popular and I am a huge fan! It's given us the green light to dig through our jewelry boxes and pile on our favorite pieces.  I thought I would share some of mine. Happy Friday!

Lucky-Karma-Beads (640x617)I found some fun beaded bracelets at a little shop at the beach that are similar to these Lucky Karma Beads. They are made with beads that represent a different energy or purpose.

ChanLuu

One of my all time favorites is this Chan Luu  bracelet that I bought on Gilt. It's made with Jasper, gold chain and leather and was a steal at about half price.  Alexandani

One of my best friends gave me this Starfish Bangle from Alex and Ani. It is my new favorite. Each eco-friendly piece is created to uplift and inspire with a positive message. You can create your own story by collecting and stacking your favorite ones.

Swarovski-Slake-Black-BraceletThis Slake Black Bracelet from Swarovski is a lot of fun. It's one bracelet that gives the illusion of a stack of bracelets. It's unbelievably lightweight and very comfortable to wear.

Lucky-Elephant-Wrap-Bracelet (570x437)This leather beaded wrap bracelet from The Lucky Elephant was a gift from my daughter, Lauren. We fell in love with these bracelets because they are beautifully made and fun to wear but also because of what they represent. Apparently an elephant with it's trunk raised up is considered good luck and is known to bring excellent fortune and the power to take away troubles. You can't argue with the power of positive thinking!

These bracelets all mean something different. Whether they were a gift from someone special or a just a great deal, they have a story. What is your jewelry saying about you? It's a fun thing to think about. Have a great weekend!

Leslie xo

Florentine White Bean Soup

White-Bean-Florentine-Soup (2)January is a great time to take a break from the things we so easily indulged in throughout the holidays. If you are anything like me you have eaten your fair share of holiday cookies, cakes and dips and are ready to put the breaks on. It's time to slow down, feel lighter and eat a little healthier. Don't get me wrong, this is not a resolution or extreme plan to give up the things I love (I am a realist here). It's just my way of getting back on track and staying in control.

During the winter months, soup is a great go-to for my family. It's quick and easy and perfect for cold days and busy weekends. My sister gave me her recipe for Florentine White Bean Soup last year and it has become one of my favorite soups to make. I love it because you can easily customize it to your family's taste by changing the ingredients. You can add pasta or potatoes, kale or spinach, or whatever your favorite soup ingredient may be.

White-Bean-Florentine-SoupThis soup is made with fresh vegetables, garlic and herbs, so it's healthy and delicious. There is pancetta in the recipe but it's a small amount and it gives the soup a great flavor. You can substitute bacon if you prefer.

Florentine-White-Bean-Soup-4 (640x426)Sauteing the vegetables and pancetta in olive oil before adding broth really brings out all of the different flavors. I actually start most of my soups this way. It's makes a huge difference in the taste.

White-Bean-Florentine-Soup (1)As you can see, I don't put a lot of broth in my soup. If you want more you can simply add more while it's cooking. I will often add more the next day when I reheat it, especially if it has pasta in it since the noodles absorb the broth. Try making the recipe the way it's written and then make changes once you've tried it. And if you come up with an amazing variation I would love to hear about it!

Happy cooking!

Leslie xo

Florentine White Bean Soup

Author: Adapted from a recipe by Linda Collins
Ingredients
  • 2 tablespoons olive oil
  • 3 ounces pancetta or bacon, chopped
  • 1 small onion, chopped
  • 2 carrots, chopped
  • 1-2 garlic cloves, chopped
  • 1/2 teaspoon dried oregano
  • 1 tablespoon tomato paste
  • 4 cups (1 carton) chicken broth
  • 1 1/2 cups water
  • 2 cans small white beans (Cannellini)
  • 2 cups baby spinach, chopped
  • salt & pepper
  • 2 tablespoons fresh parsley, chopped
  • *optional ingredients - small pasta, diced potatoes
Instructions
  1. Heat oil in a large pot over medium/low heat until warm. Add pancetta and saute until slightly browned, 5 minutes.
  2. Raise heat to medium, add onion and carrots and saute until soft, 5 minutes.
  3. Add garlic and oregano, stir until fragrant, 2 minutes.
  4. Stir in tomato paste, mix well. Add broth, water and beans. Raise heat to medium/ high and bring to boil, then reduce heat to medium.
  5. Add spinach and cook until wilted and flavors have blended, 10 minutes.
  6. Season to taste with salt and pepper. Sprinkle with parsley.
  7. Serve
Notes
*add pasta or potatoes with beans and boil for 1 to 2 minutes less than regular cooking time
3.2.1336
3.2.1336


Favorite Things

BeautyBeauty

True beauty in a woman is reflected in her soul. It is the caring that she lovingly gives, the passion that she shows. And the beauty of a woman only grows with passing years.   Audrey Hepburn

Beauty means something different to each of us. I believe that true beauty is living well. It's a delicate balance of taking care of your body, your mind and your spirit. Some of the most beautiful women I know seem to have mastered this art. I am reminded of this each day as I read one of my favorite books, Younger by the Day, by Victoria Moran. It's a daily dose of  inspirational words and affirmation as well as diet and exercise advice for living a healthier life. It makes you realize that self care is important. How you take care of yourself says so much about you. And that doesn't mean labels and price tags. It's about putting your best face forward and taking care of all of you. Inside and out. Paying attention to little things. It's something we all deserve. Today I'm sharing some of my favorite ways to live well. Happy Friday!

Younger-by-the-DayYounger by the Day ~ by Victoria Moran. Start with the inside each day. A fabulous book that I highly recommend.

See-the-beauty (426x640)Wooden Sign, see the beauty in everything, from Words To Live By Signs. A simple but powerful reminder that there is beauty all around us.

yoga (274x640)I love yoga but sometimes class schedules don't work for me. Mind Body Green is a great resource for doing things at home.


compimg1_breakfast_wk1_vertWhole Living is another great resource if you want to get healthy. Their 2012 Whole Living Action Plan caught my attention last year and is great if you like to have a plan.

Chocolate-Dipped-Berries-with-Sprinkles3I refuse to live without chocolate.  Chocolate Dipped Fruit on a Stick from Family Fresh Cooking is a great way to have the best of both worlds. Just enough chocolate to satisfy a craving and zero guilt.

I hope you are off to a happy and healthy start in 2013! Have a fabulous weekend!

Leslie xo

Recycled Vintage Jewelry DIY

Vingtage-Jewelry-DIY (6)I love to go antiquing.  It's fun to wander through flea markets and antique shops to see what sort of treasure you can find. There is history attached to each item and the stories some of them tell are probably fascinating. Once in a while, I like to search through the jewelry and pick up different pieces that I can take apart and recreate. It's a great way to add something new to your accessory collection. Occasionally I'll find something valuable but most of the time I'll stick to inexpensive strands of beads that can easily be restrung. During my most recent visit to our local antique shop I found three random necklaces that I took home and turned into nine different bracelets.

imageYou can find cool stuff when you dig around. Some of it is really old and some of it looks like lasts years prom jewelry. Either way someone was finished with it and decided to part with it. You know what they say...one person's junk is another person's treasure. I say, why not buy it cheap and turn it into something new?

Vingtage-Jewelry-DIYI have found everything from strands of vintage garnet beads to really old crystal but on this trip I settled for some old glass beads and a strand of chunky, black plastic beads.

Vingtage-Jewelry-DIY (1)I used my wire cutter to take apart the necklaces and separate the beads. You could also use scissors for necklaces that are made with string, like these were.

Vingtage-Jewelry-DIY (2)

Vingtage-Jewelry-DIY (3)I used 1mm stretch elastic to string the beads into bracelets.

Vingtage-Jewelry-DIY (4)I wanted all of the bracelets to be the same size so I measured each one and made them one inch larger than my wrist size. I made some using the same beads and some with a mix of different beads. I even used the clasp from one of the necklaces. I tied a double knot in the elastic once the bracelets were strung. *Note ~ You can place a dot of jewelry glue or super glue on the knot to secure it. Just be careful you don't glue your fingers (I speak from experience here!).

Vingtage-Jewelry-DIY (5)I now have nine different bracelets that I can stack and wear together or a few at a time with other jewelry. It took me less than an hour! It's a great way to recycle old pieces from your own jewelry box and save some money too! It's also a simple and fun project for kids. Just help them cut the strands and then let them get creative!

Have fun!

Leslie xo

Happy New Year!

Happy-New-Year copyToday, we put 2012 behind us and we welcome 2013! I hope you have wonderful memories from last year to tuck away and cherish forever. For me, there were some special moments that I am grateful for. My grandson's first birthday, my daughter's engagement, and time well spent with family and friends. I launched my blog and have moved forward with some personal projects. It's been a great year. I feel blessed and I am looking forward to a new year filled with more great moments, new memories and unending possibilities. I appreciate your support and wish you an amazing 2013! Happy New Year!

I will be back next week with some fresh ideas and new posts. Enjoy the day!

Leslie xo

 Photo Credit: Doug Reese

Favorite Things

LookingBackPhotosThe end of the year is fast approaching. It's a time to reflect on the past year while we look forward to the year ahead. It's been a fun year for me in the blogging world. I published my first blog post back in May and have enjoyed every minute of the process since then. I  discovered that I love to write and I have met some amazing people along the way. It's been fun to share the things I love with you and I have appreciated all of the feedback I have received.  When I  sat down to write today's post, I thought it would be fun to go back and share some of my favorite posts with you. I am looking forward to bringing you some fun new things in 2013. It will be an exciting year for my family and I can't wait to share some of it with you. Happy Friday!

lemon-sugar-bowl Lemon & Sugar ~ This was the first post on the blog so it's definitely my favorite overall.

DIY-cupcake-linersDIY Cupcake Liners ~ My favorite simple DIY post.

High-Line-1A Walk on the High Line ~ One of my favorite travel posts (and places to go!).

Vanilla-LatteFavorite Things  - Coffee post ~ This was the first post in the Favorite Things category. I love these Friday posts.

Martha-Stewart-Bridal-Market-PartyFavorite Things - Martha Stewart Weddings Bridal Market Party ~ My favorite event of the year. An amazing experience.

Simple-Dessert-Bar-2Simple Dessert Bar ~ This is a favorite post because it was a simple DIY that was fun to do. I loved working with my daughter on this one.

Chocolate-Covered-Christmas-MainChocolate Covered Christmas ~ I had so much fun with this series. It gave me some great ideas for future projects.

Have a wonderful weekend and a Happy New Year!

Leslie xo

Frozen Hot Chocolate Martini

Chocolate Covered Christmas ~ Day 12

CCC-Frozen Hot Chocolate Martini (640x426)We made it! Today is the 12th day of Chocolate Covered Christmas and we're going to go out with a bang and stir up some holiday cheer with a Frozen Hot Chocolate Martini! Why not? The shopping and baking should be coming to an end so it's time to relax and have some fun. Whether you have wrapping to do or a party to host, this fun, frozen concoction will have you singing Jingle Bells in no time. It's made with hot chocolate mix and vodka and it's a fun way to indulge in something sweet this time of year.  So put on the Christmas music and find your holiday cheer because it's time to raise our glasses to a wonderful Christmas and a fantastic year!

Frozen Hot Chocolate Martini

Author: Leslie Reese
Serves: one serving
Ingredients
  • 1 1/2 cups ice
  • 1 packet or serving of good quality hot chocolate mix
  • 3/4 cup milk
  • 1 shot vanilla vodka
  • mini marshmallows
Instructions
  1. Sprinkle some of the hot chocolate mix onto a small plate. Wet the rim of a martini glass and dip it into the hot chocolate mix.
  2. Combine ice, remaining hot chocolate mix, vodka and milk in blender and blend until smooth.
  3. Pour into martini glass and garnish with mini marshmallows.
Notes

This recipe is written for a single serving. Multiply amounts for additional servings.

3.1.09

 It has been so much fun sharing my chocolate recipes with you. I hope you found something you like and I hope you enjoyed your visit while you were here. Enjoy each of the last few moments that are leading up to Christmas. It's those little things that make the best memories.

Cheers to a fabulous Christmas season!

Leslie xo

Chocolate Whoopie Pies

Chocolate Covered Christmas ~ Day 11

CCC-whoopie-piesWhoopie Pies have been around for a long time. I am from Pennsylvania and there is a huge debate about whether they originated here in the Amish Country or in New England. It all depends on who you talk to, or where you look it up for that matter. All I know is whoopie pies are a fun and delicious thing to make and eat so I personally don't care who came up with the idea, I'm just glad they did. When I was a kid, my mom made really good whoopie pies. They were a hot bake sale item so when she was making them for an event, we got to eat a few. Back then, it was just a basic chocolate cookie with vanilla icing inside. Now there are Whoopie Pie books with all sorts of recipes for fun and interesting flavor combinations. I stuck with the basics here. Why mess with a good thing? I just jazzed up the edges with broken candy canes for the holidays. Simple but pretty.

*Note ~ The icing recipe that I use has egg whites in it. It's an old recipe and it's really good so I like to use it but if you prefer not to use egg whites I am including a separate icing recipe that comes from the Whoopie Pies book. It uses marshmallow cream instead.

Chocolate Whoopie Pies

Author: Leslie Reese
Serves: makes about 30 whoopie pies
Ingredients
  • cookies
  • 2 cups sugar
  • 1 cup butter or margarine
  • 2 eggs
  • 4 cups flour
  • 1 cup cocoa
  • 2 teaspoons salt
  • 1 cup buttermilk
  • 2 teaspoons vanilla
  • 2 teaspoons baking soda
  • 1 cup hot water
  • icing
  • 2 egg whites
  • 2 teaspoons vanilla
  • 4 tablespoons milk
  • 4 cups confectioner's sugar
  • 1 cup vegetable shortening (Crisco)
Instructions
For cookies
  1. Preheat oven to 400 degrees. Line baking sheets with parchment paper.
  2. In a large bowl, cream together sugar, shortening and eggs. Beat until fluffy.
  3. Sift together flour, cocoa and salt. Add to creamed mixture alternately with buttermilk. Add vanilla. Beat until smooth.
  4. Dissolve baking soda in hot water and add to mixture. Beat until smooth.
  5. Drop by teaspoons onto baking sheet (I use a small cookie scoop so my cookies are all the same size).
  6. Bake for 8 minutes or until cookie bounces back when touched.
  7. Cool. Sandwich cookies together with generous amount of icing.
For icing
  1. Combine egg whites, vanilla, milk and 2 cups of confectioner's sugar. Beat until well combined. Add 2 more cups confectioner's sugar and shortening. Beat until fluffy.
3.1.09
Classic Marshmallow Filling

Author: Adapted from the Whoopie Pies book
Ingredients
  • 1 1/2 cups Marshmallow Fluff (or other prepared marshmallow cream, which will do in a pinch)
  • 1 1/4 cups vegetable shortening
  • 1 cup confectioner's sugar
  • 1 tablespoon vanilla extract
Instructions
  1. In the work bowl of a stand mixer fitted with the paddle attachment, beat Marshmallow Fluff and the vegetable shortening, starting on low and increasing to medium speed until the mixture is smooth and fluffy, about 3 minutes. Reduce mixer speed to low, add the confectioner's sugar and the vanilla, and beat until incorporated. Increase mixer speed to medium and beat until fluffy, about 3 minutes more.
3.1.09
Happy Baking!
Leslie xo
3.1.09

Homemade Chocolate Gelato

Chocolate Covered Christmas ~ Day 10

CCC-Chocolate-GelatoIt's the middle of December, it's cold outside and there's a fire in my fireplace. So, why am I posting a gelato recipe? Because, it's a great dessert and it's something we don't usually think to serve in the winter time. I like things that are different and homemade gelato doesn't have to be a summer-only dessert. I was in the mood to try something new so I got out my ice cream machine and recipe book, The Ciao Bella Book Of Gelato & Sorbetto, and whipped up a batch of chocolate gelato. The process is a little more involved than making ice cream but the taste and texture is well worth the extra effort. A little will go a long way because gelato is rich, so you won't need to make a lot.  I dressed up each bowl with a sugar dusted chocolate tree to give it a holiday feel. If you like the idea but just can't imagine getting out your ice cream machine, or you don't have one, you can buy ice cream or gelato and serve it with a chocolate tree on top. That's close enough and just as festive!

Some of my favorite places for gelato:

Artisan Gelato by Norman Love ~ It's out of this world! Some of the best out there!

Eataly in NYC ~ Close your eyes and you'll think you are in Rome when you eat gelato at Eataly!

Homemade Chocolate Gelato

Author: Adapted from the recipe in The Ciao Bella Book of Gelato & Sorbetto
Serves: makes enough for 1 quart
Ingredients
  • 2 cups whole milk
  • 1 cup heavy cream
  • 1/2 cup unsweetened cocoa powder
  • 4 ounces bittersweet chocolate (about 60% cacao), finely chopped
  • 4 large egg yolks
  • 3/4 cup sugar
Instructions
  1. In a heavy bottom saucepan, combine milk and cream. Place over medium-low heat and cook, stirring occasionally, until mixture reaches a temperature of 170 degrees F. Turn off heat and whisk in cocoa powder. Add chopped chocolate, and stir or whisk until chocolate is completely melted and mixture is smooth.
  2. Meanwhile, in a heatproof bowl, whisk egg yolks until smooth. Gradually whisk in the sugar until it is well incorporated and mixture is pale yellow. Temper the egg yolks by very slowly pouring in the hot milk mixture, mixing continuously. Return the custard to the saucepan and place over low heat. Cook, stirring frequently with a wooden spoon, until the custard is thick enough to cover the back of the spoon and it reaches a temperature of 185 degrees F. Do not bring to boil.
  3. Pour mixture into a bowl and cool to room temperature, stirring every 5 minutes or so. Cover and refrigerate until very cold, 4 hours or overnight.
  4. Place custard into the container of an ice cream machine and churn according to manufacturer's instructions. Transfer to an airtight container and freeze for at least 2 hours before serving.
Notes

To make chocolate trees: pipe melted chocolate onto wax or parchment paper into desired shape. Sprinkle with sugar and freeze for 10-15 minutes or until ready to serve. Gently peel paper away from chocolate when ready to serve and place on top of ice cream.

3.1.09

Enjoy!

Leslie xo

Chocolate-Covered-Christmas-Main

More Chocolate Covered Christmas Recipes 


Chocolate Truffles

Chocolate Covered Christmas ~ Day 9

CCC-TrufflesWhen I was flipping through my Food Network Magazine recently, I found something that I couldn't wait to try. A customizable recipe for Mix & Match Truffles. What a fun idea! I had to add it to the Chocolate Covered Christmas list! The concept is simple. Start with ganache (which sounds difficult and fancy, but is really very easy), then mix and match different flavors, mix-ins and coatings. The possibilities are endless and the end result is a beautiful and delicious little truffle that is custom made and fun to give. I decided to make Espresso Chocolate Truffles with Toffee so I included that recipe here. I played around with some different coatings to get different flavors and colors. If you want the complete 5 step customizable recipe, check out the December issue of Food Network Magazine or go to Food Network online.

Chocolate Espresso Truffles with Toffee

Author: Adapted from Food Network Magazine
Ingredients
  • 12 ounces of bittersweet or semisweet chocolate
  • 1 cup heavy cream
  • 1 tablespoon unsalted butter
  • pinch of salt
  • 1 teaspoon vanilla
  • 1/4 cup brewed espresso
  • crushed toffee bars, for coating
Instructions
  1. Chop chocolate (if not using chips) and place in a heatproof bowl.
  2. Bring cream, butter and salt to a simmer in a saucepan over medium heat; pour over the chocolate and let sit until completely melted, about 10 minutes. Stir with rubber spatula or whisk until smooth. (If necessary, microwave in 20-second intervals until the chocolate melts.)
  3. Whisk in the vanilla and then stir in the espresso. Stir until the ganache is smooth and shiny. Pour into a shallow baking dish and refrigerate until firm, at least 3 hours or overnight.
  4. Roll tablespoons of ganache into 18-24 balls, then roll in crushed toffee. Transfer to parchment-lined baking sheet, cover with plastic wrap and refrigerate until firm, at least 1 hour or overnight. (to make in advance, roll into balls but do not coat. Cover and freeze up to 2 weeks.Let sit at room temperature for 20 minutes before uncovering, then roll in coating.)
3.1.09

Be creative and have fun!

Leslie xo

Chocolate-Covered-Christmas-Main

More Chocolate Covered Christmas Recipes


Cocoa Cola Cake

Chocolate Covered Christmas ~ Day 8CCC-Cocoa-Cola-CakeToday I am sharing a recipe for a chocolate cake with a twist. It's made with cocoa powder and Coca Cola. It's a moist chocolate cake that has a sweet cooked icing poured over the top. This cake takes me way back to when I was a kid. The recipe was given to my mom by one of the moms from our swim team. It brings back memories of swim meets and bake sales. Yes, I am nostalgic. I love recipes that have something attached to them. They are fun to share. This cake works well in a 13 x 9 pan. You can easily cut it into squares that way. I used one  large round pan for this post.

Cocoa Cola Cake

Author: Leslie Reese
Ingredients
  • Cake
  • 2 cups sugar
  • 2 cups flour
  • 1/2 cup butter
  • 1/2 canola oil
  • 3 tablespoons Hershey's Cocoa
  • 1 cup Coke ( I have used Root Beer before and it's just as good)
  • 1/2 cup buttermilk w/ 1 tsp baking soda added
  • 2 eggs
  • 1 teaspoon vanilla
  • 1 1/2 cup mini marshmallows
  • Icing
  • 1/2 cup butter
  • 3 tablespoons cocoa
  • 6 tablespoons Coke
  • 1 box confectioners sugar
  • 1 teaspoon vanilla
  • 1/2 cup walnuts (optional)
Instructions
For Cake
  1. Preheat oven to 350 degrees.
  2. In large bowl mix sugar and flour. Set aside.
  3. Mix butter, oil, cocoa and Coke in a saucepan and bring to a boil. Pour over dry ingredients.
  4. Stir baking soda into buttermilk and add to mixture. Stir together.
  5. Add eggs and vanilla. Stir until combined.
  6. Add mini marshmallows.
  7. Pour batter into a well greased pan. Bake 30 to 40 minutes or until cake tester comes out clean.
For Icing
  1. Mix butter, cocoa and Coke in a saucepan and bring to a boil.
  2. Add confectioner's sugar, vanilla and walnuts (optional). Mix well and spread over hot cake.
  3. Cool and serve.

Happy Baking!

Leslie xo

Chocolate-Covered-Christmas-Main

More Chocolate Covered Christmas Recipes


Chocolate Chip Cheesecake

Chocolate Covered Christmas ~ Day 7

CCC-Chocolate-Chip-CheesecakeToday I am giving you a recipe that is not as "chocolate" as the ones I have posted so far, but every bit as delicious. This Chocolate Chip Cheesecake recipe is another family favorite and has been around a long time. The Oreo cookie crust is topped with a layer of cheesecake and sprinkled with mini chocolate chips, giving it just a touch of chocolate flavor. It's simple to make which is a plus this time of year! It will slice easier and taste better once it sits in the fridge for a little while so make it ahead of time if you can. Four to six hours is great but a day ahead is even better.

Chocolate Chip Cheesecake

Author: Leslie Reese
Ingredients
  • Crust
  • 1 1/2 cups Oreo cookies crushed ( about 20 )
  • 1/4 cup melted butter
  • Cheesecake
  • 3-8 oz packages of cream cheese, softened
  • 1- 14 oz can sweetened condensed milk
  • 3 eggs
  • 2 teaspoons vanilla
  • 1 cup mini chocolate chips, divided
  • 1 teaspoon flour
Instructions
Crust
  1. Mix crushed cookies with melted butter. Press into a spring form pan and set aside.
  2. Preheat oven to 300 degrees.
Cheesecake
  1. Mix cream cheese, milk, eggs and vanilla until well blended.
  2. In a separate bowl, toss 1/2 cup chocolate chips in 1 teaspoon of flour, Add to cream cheese mixture.
  3. Pour mixture into pan.
  4. Sprinkle remaining chocolate chips on top of cheesecake. Do not mix in.
  5. Bake for 1 hour.
  6. Once cheesecake is cool, place in refrigerator with pan until ready to serve. Remove outside of spring form pan before cutting.
3.1.09

Happy Baking!

Leslie xo

More Chocolate Covered Christmas Recipes